Print a US passport photo without wasting paper
When you apply by mail or in person, you usually need printed 2×2 inch photos on photo-quality paper—not a phone screenshot taped to a form. This guide focuses on the print workflow: choosing home printer vs drugstore kiosk, using a 4×6 sheet that typically holds six US copies, matching Letter vs A4 paper, cutting clean squares, and packing prints so they arrive flat. Start from a correctly cropped digital file; printing cannot fix a bad background or soft focus. Confirm paper and count rules on travel.state.gov for your form.
Pick a print method that matches your timeline
Every path starts with the same foundation: a sharp, compliant digital crop. Printing a full-bleed phone photo and guessing the cut almost always wastes paper and fails size checks.
Choose based on equipment and speed. A home photo printer is convenient if colors look natural. A drugstore 4×6 kiosk is often cheapest for a one-off sheet. An in-store passport counter is fastest when you need staff to shoot and print the same day—and usually the most expensive.
- Home printer: single 2×2 or multi-copy sheet on matte/glossy photo paper
- Drugstore kiosk: upload a 4×6 layout, print, then cut two identical squares
- In-store passport service: staff take and print two copies—same-day, higher cost
- Online renewal only: you may not need prints at all—upload a digital file instead
The 4×6 sheet layout (why you often see six copies)
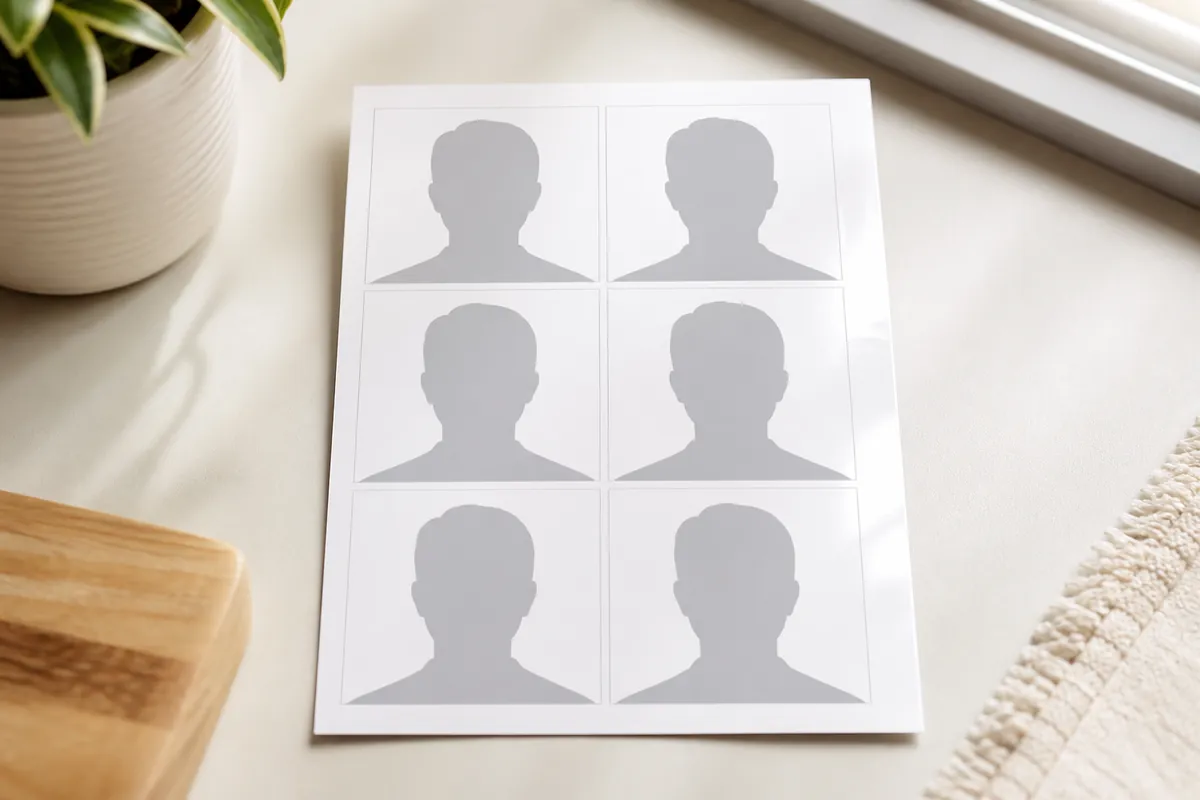
After cropping in our free tool, choose the 4×6 print layout on the preview step. For a US 2×2 template, one 4×6 inch (10×15 cm) sheet usually holds six identical photos in a 2×3 grid—not four. Your form still typically needs only two identical prints; the extras are backups for mis-cuts.
Download as JPG for most kiosks or PDF for many home printers. Print at actual size—100% scale—so each square stays a true 2×2 inches. “Fit to page” or “shrink to fit” is the most common silent size error.
Use matte or glossy photo paper. Office copy paper looks dull, shows banding, and may be refused even when the cut size is correct. Let ink dry before stacking or cutting.
- Select the United States 2×2 template before cropping
- On preview, pick 4×6 and confirm the on-screen copy count (often 6)
- Print at 100% / actual size—never fit-to-page
- Cut two identical squares for the application; keep extras
Home printer vs drugstore kiosk
A home photo printer works when skin tones look natural and edges stay sharp. Calibrate or reprint if faces look strongly orange or blue. Soft, pixelated exports will not improve on paper—go back to a sharper source file.
A drugstore kiosk is often the practical choice for one sheet: crop first, upload the 4×6 JPG, print one sheet, cut two 2×2 photos. That path usually costs far less than a full in-store passport photo package.
Do not laminate passport photos. Do not write on the front. Mark the back only when a form specifically instructs you to do so.
Cutting clean 2×2 squares
Use a sharp craft knife with a metal ruler, or a dedicated photo cutter. Ragged scissors edges look unprofessional and can catch on form sleeves.
After cutting, measure with a ruler. Each submitted print should be a true 2-inch square. If one edge is short, cut another copy from the extras rather than trying to tape or trim unevenly.
Keep the two prints identical—same crop, same print batch. Mixing two different takes on one form invites confusion if reviewers compare them.
- Sharp blade or photo cutter, not dull scissors
- Measure after cutting; replace mis-cuts from extras
- Submit two identical prints when required
- No creases, wet ink, or bent corners
Quality checks before you mail
Hold the prints under normal room light. Background should still read plain white or off-white. Faces should be sharp, with natural color and no heavy banding.
If skin looks wrong, adjust printer color or reprint at a kiosk. If the image is soft, return to a sharper digital crop—do not enlarge a tiny export.
- Two identical prints when required
- True 2×2 inch size after cutting
- No creases, tears, or wet ink
- Plain background still visible after print
- No lamination or front-side writing
Packing and mailing prints
Place prints between cardboard so they do not bend in the envelope. Do not staple through the face. Include the number of photos your form lists—usually two identical prints.
If you printed multiple attempts, sort rejects separately. Never mark the faces of the photos you will submit unless the form says so. Pencil notes on the back of rejects are only for your own sorting.
Humidity and stacking wet prints can smear ink. Dry fully before packing. Keep a spare pair at home until your application is accepted.
Letter vs A4 and other sheet sizes this tool supports
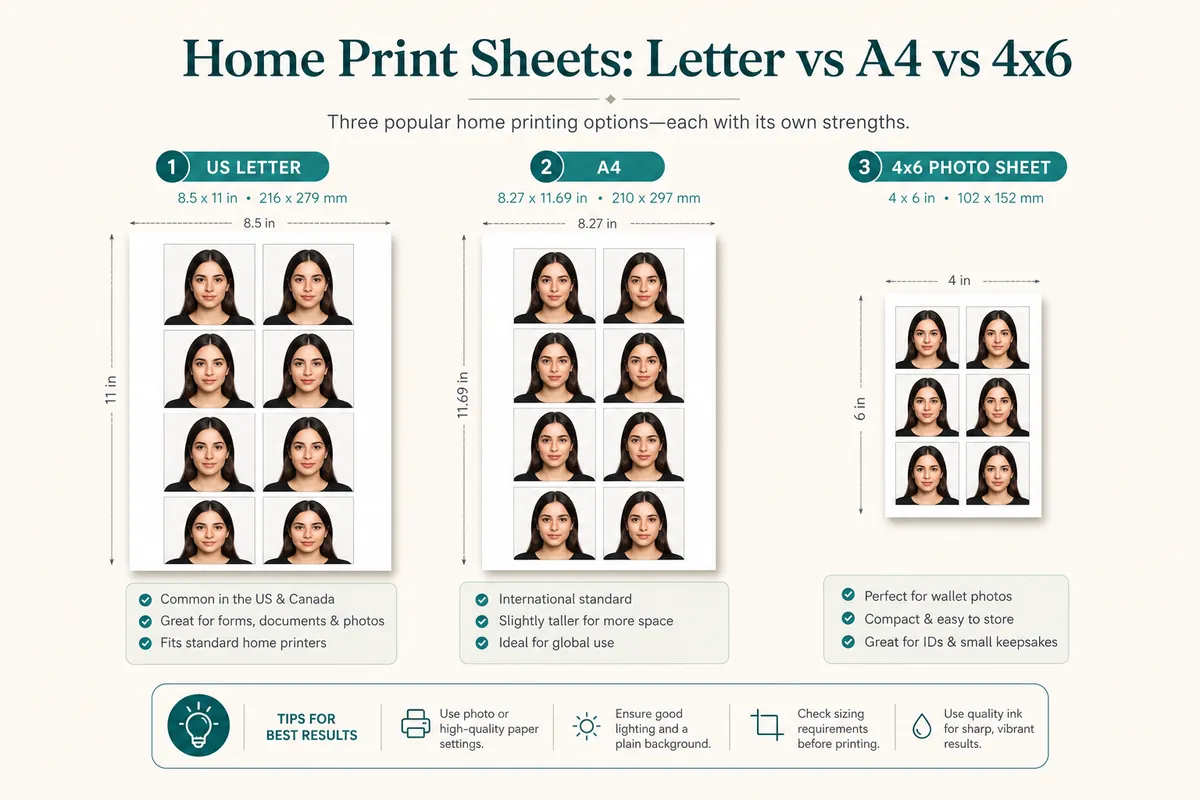
After you crop, the preview step offers multiple print layouts. Pick the paper you actually have, then print at 100% scale. On-screen counts show how many copies of your selected passport size fit on that sheet.
US drugstore kiosks usually want a 4×6 / 10×15 cm file. Use Letter (8.5×11) for most US home printers; use A4 or A5 when that is the photo paper you loaded. Never mix a Letter layout with A4 paper—the scale will be wrong.
Always use photo-quality paper for mail-in applications—not plain office stock—even when the sheet size is correct.
- Single photo — one passport-size image (digital upload or one cut print)
- Portrait inch sheets: 3.5×5 / L-size, 4×6 / 10×15 cm, 5×7, 8×10
- Office / ISO sheets (portrait): Letter 8.5×11, A5, A4
- Landscape inch sheets: 5×3.5, 6×4, 7×5, 10×8
- Office / ISO sheets (landscape): Letter, A5, A4 rotated for landscape feed
When printing is optional
Online passport renewal typically uses a digital upload only. Printing two 2×2 photos you will never mail wastes money. Print when your path requires paper photos, or when you want a physical backup for a separate form.
If you need both a digital file and prints, keep one master JPEG and derive both outputs from it so they match.
Troubleshooting bad prints
Wrong size after cutting → reprint at 100% scale with the correct sheet layout; measure again.
Color cast → try kiosk paper or adjust printer color management; avoid heavy filters on the source file.
Soft or pixelated → return to a higher-quality original; do not upscale a small crop.
- Fit-to-page enabled in the print dialog
- Letter layout printed on A4 (or the reverse)
- Office paper instead of photo paper
- Cutting before ink is dry
Ready to crop your photo?
Free online tool—pick your country template (US 2×2 or UK 35×45), align your head, and download. No account needed.